Skip to content
This article provides a step-by-step guide on creating multiple event times for a single Booking. This feature is helpful when a Job has already started on a vehicle and needs to be extended across multiple dates or where a Booking is created for a major operation like an engine rebuild.
Please Note: Each Labour product on a Booking holds one or more Event Times, these are the allocated time blocks in your Booking Diary. A Booking with multiple Labour Products in its Product List will create one unassigned Event Time for each.
Create a Customer Booking
- Create a Booking for the customer as you would for any other Job (You may refer to this link, How to create a Customer Booking)
Please Note: Before accessing Event Times, ensure that the Booking is saved. You can either save it manually using the Save button at the bottom of the page, or proceed with the steps below and a pop-up warning will prompt you to confirm and save the Booking.
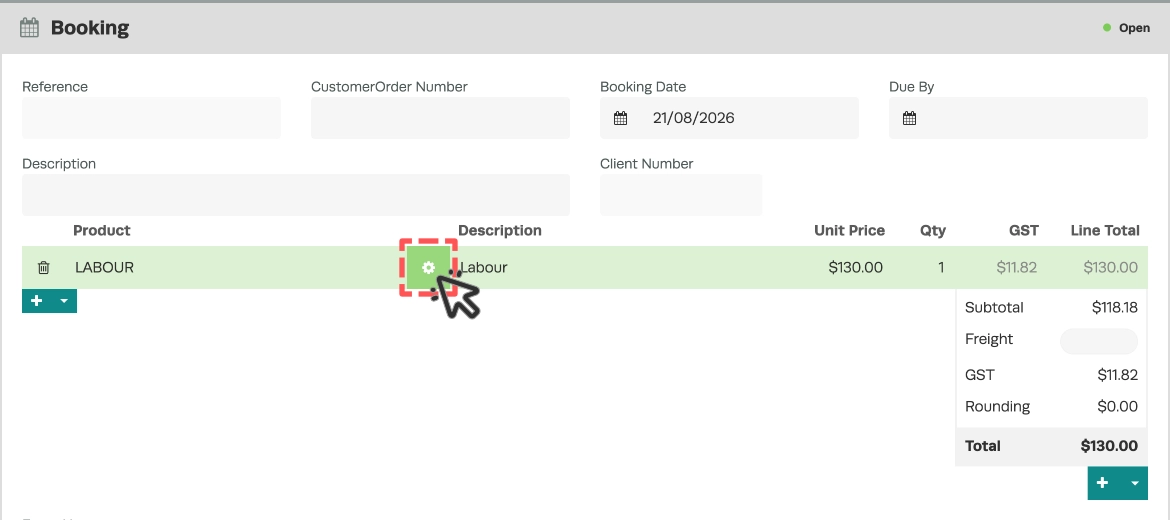
- To open the Event Times associated with a Labour Product, click the Green Cog icon.
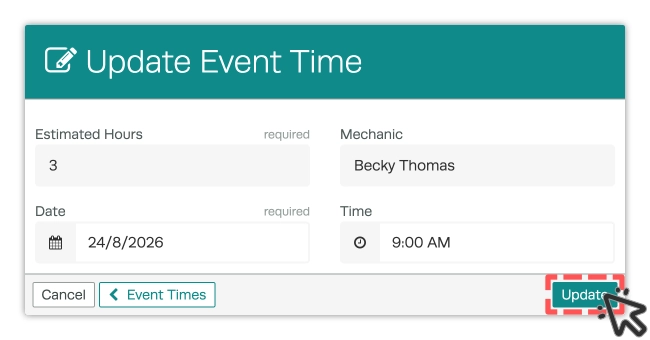
- A pop-up window labelled Update Event Time will appear to confirm the first Event Time's details.
- Enter the estimated hours required for the first day's event, allocate this time to a Mechanic and set the date and time, then click the Create button to save.
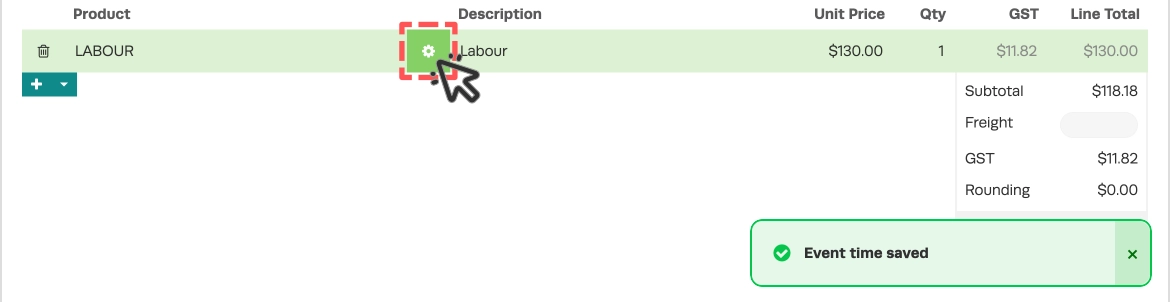
Please Note: A confirmation message will appear indicating that the new Event Time has been successfully saved. If an error message appears in a red banner stating “Mechanic Not Scheduled To Work During That Time Period,” review the mechanic’s schedule for the specified day and make the necessary adjustments.
- Click the Cog icon to re-open the Labour Product's Event Times.
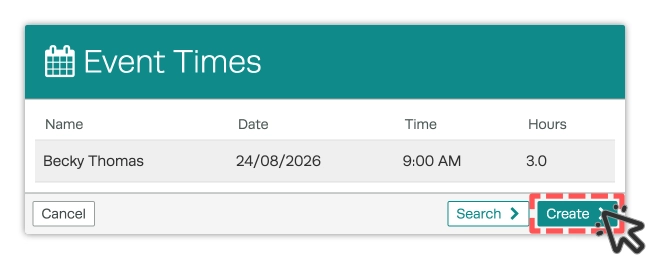
- In the Pop Up that appears please click the Create button to add a second or subsequent event.
- You may assign the same mechanic or a different mechanic from your list, make sure to set a future date with the pop-up calendar.
Check the Booking Diary
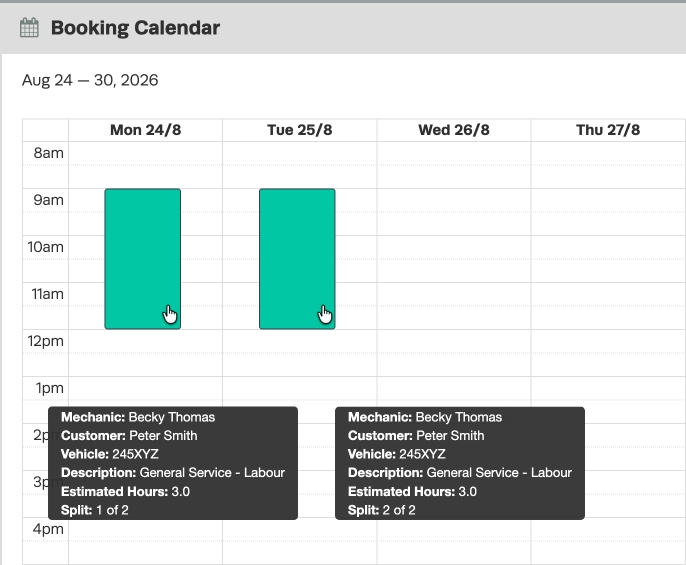
- Open your Booking Diary to review the scheduled events, the Week view is useful to see all events on one screen.
- You may hover your mouse over each event to review a summary. The first booking date will show as Split 1 of X (e.g., Split 1 of 2 if split across two days), while subsequent dates will show as Split 2 of X, Split 3 of X, and so on.
View All Scheduled Dates for the Booking
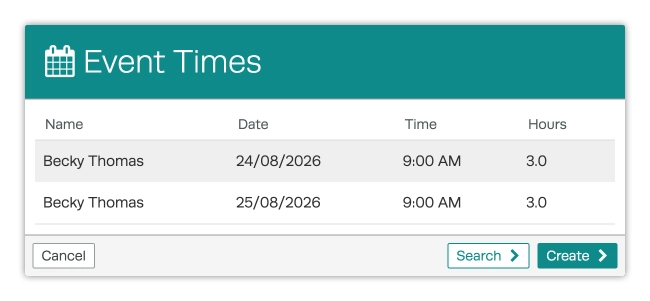
- To see all scheduled dates click on the booking for any of the dates, then select the Green Cog icon again to open the Event Times summary, displaying all scheduled dates and times.
Important Notes:
No Need for a New Invoice: Use the original Invoice created when the job was started. There is no need to create a new invoice for each additional day.
Booking Limit: A Booking can be scheduled across a maximum of 9 days.