 Skip to content
 The Purpose of a Price Matrix is to establish differentiated pricing structures for Customers based upon their assigned Matrix and a product’s Product Group. They allows users to apply markups or offers discounts to specific customers.
Please note: This feature is available on our Gold Subscription level or greater only, To upgrade please go into your Profile settings – Subscription and click Upgrade.
Creating a New Product Matrix
- To create or update a Matrix navigate to Settings (1) then Price Matrix (2) in the left hand sidebar.
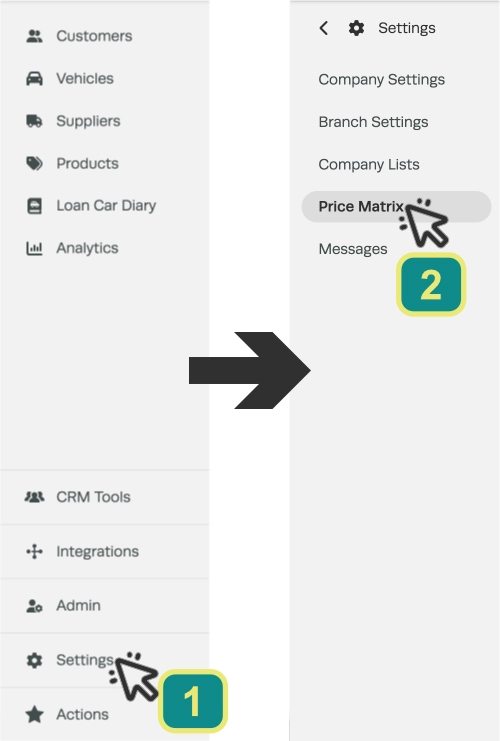
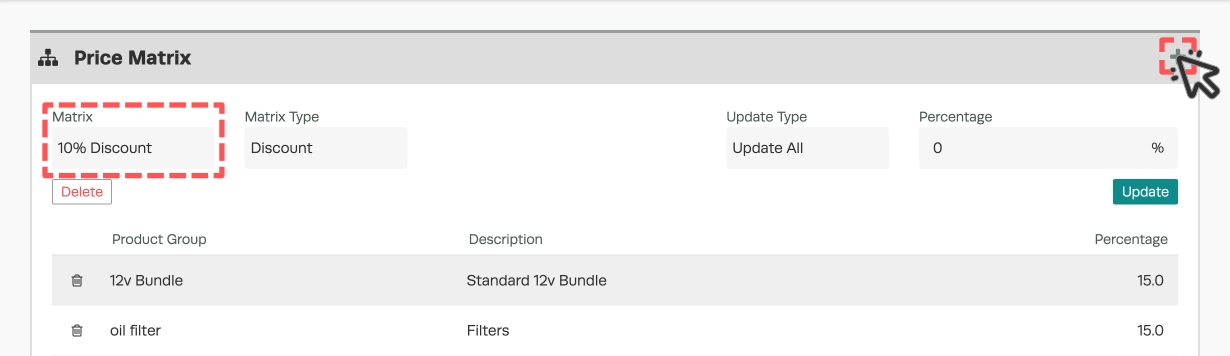
- Click the + icon to create a new Price Matrix., you may also use the Matrix drop down Menu to select a Product Matrix to edit.
- If creating a new Matrix a pop up will appear allowing you to name your Matrix and select its type. A Markup Matrix increases the prices for chosen Product Groups to any assigned Customer, a Discount Matrix reduces the prices.
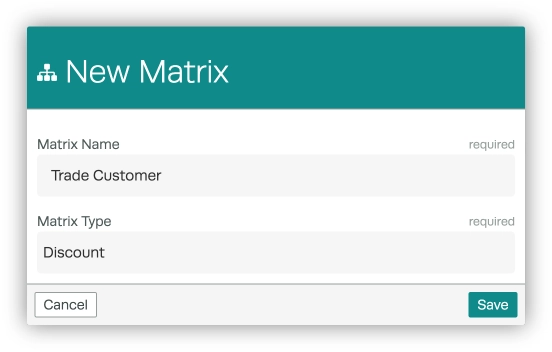
A Matrix applies a markup or discount to Products from the included Product Groups. If you need to create new Product Groups follow the instructions in our Add a Product Group Article.
Assigning Product Groups and Discounts
- With your Product Groups configured you may add them to your matrix by clicking Add Product Group (A) or include all your product groups at once by selecting Add All Product Groups (B).
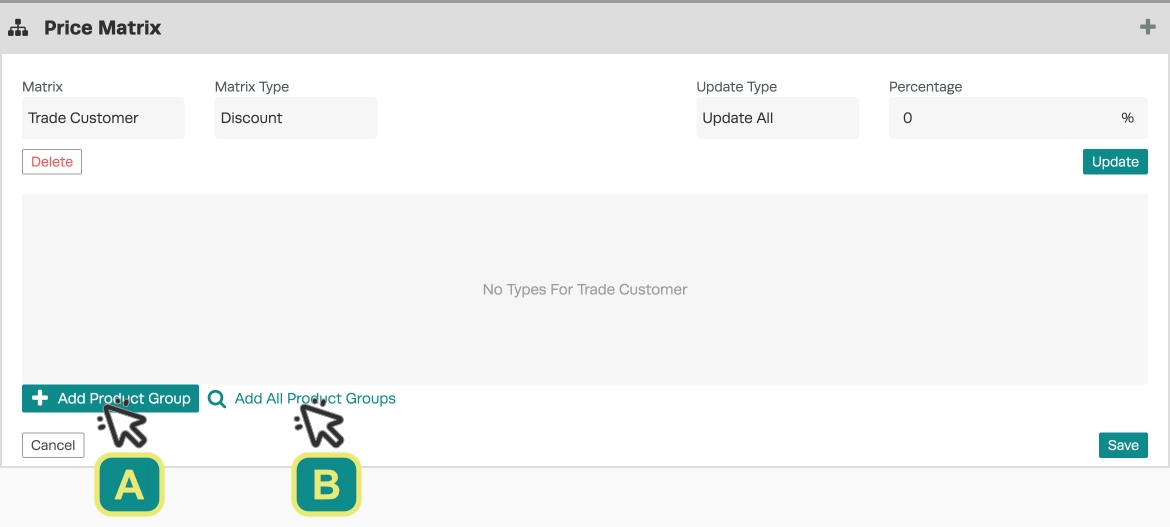
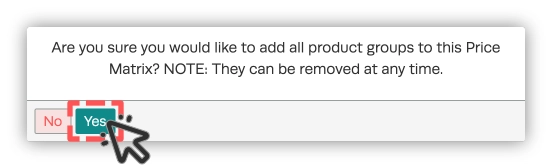
2. If you selected Add All Product Groups, please confirm by clicking Yes when prompted.
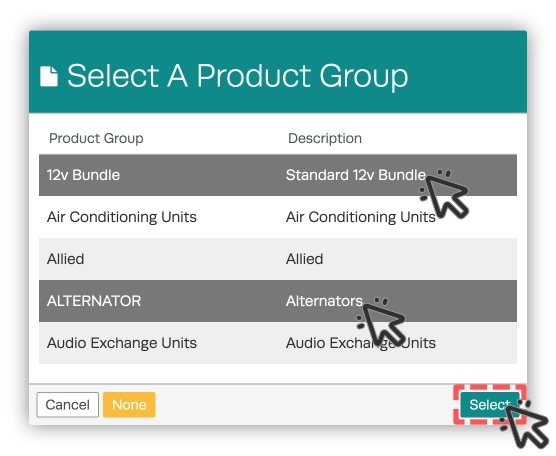
- If you selected Add Product Group you may click the desired Groups in the pop up and then choose Select to add them to your matrix.
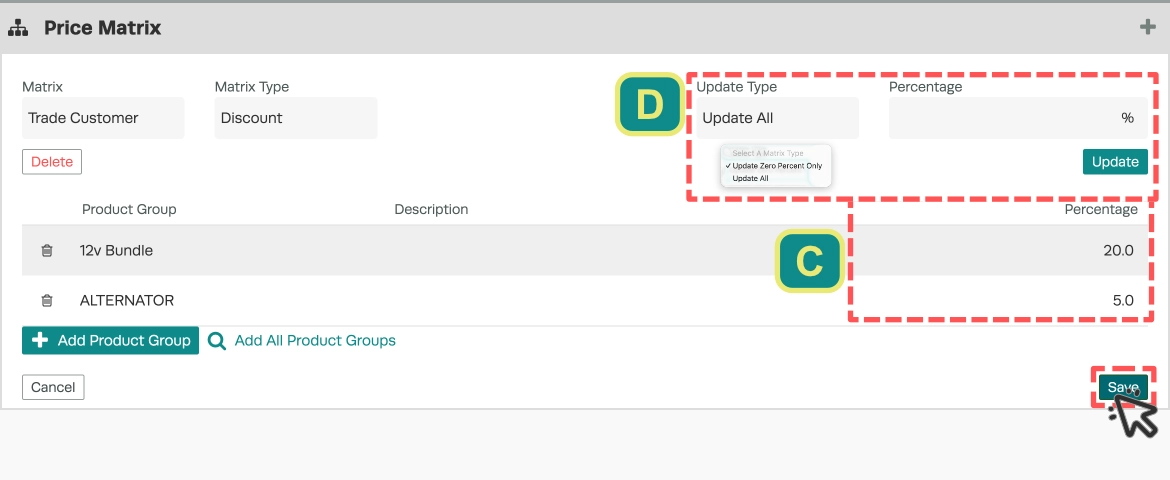
- You may then configure the specific markup or discount for any Group (C), click the Product Group’s Percentage field and enter the new value.
- To update all Percentage fields choose an Update Type to update all fields or only those with a value of Zero, enter the desired value in the batch Percentage Field and click Update (D).
- Be sure to click Save to save your matrix after completing these steps.
Assigning a Price Matrix to a Customer
After configuring the Matrix the final step is to assign which Customers will receive the modified pricing. Even if you have only one Matrix, you must still assign one or more customers to this Matrix for it to take effect.
- Navigate to the Customer profile you would like to apply a Matrix to, select Price Type and choose the desired Matrix.
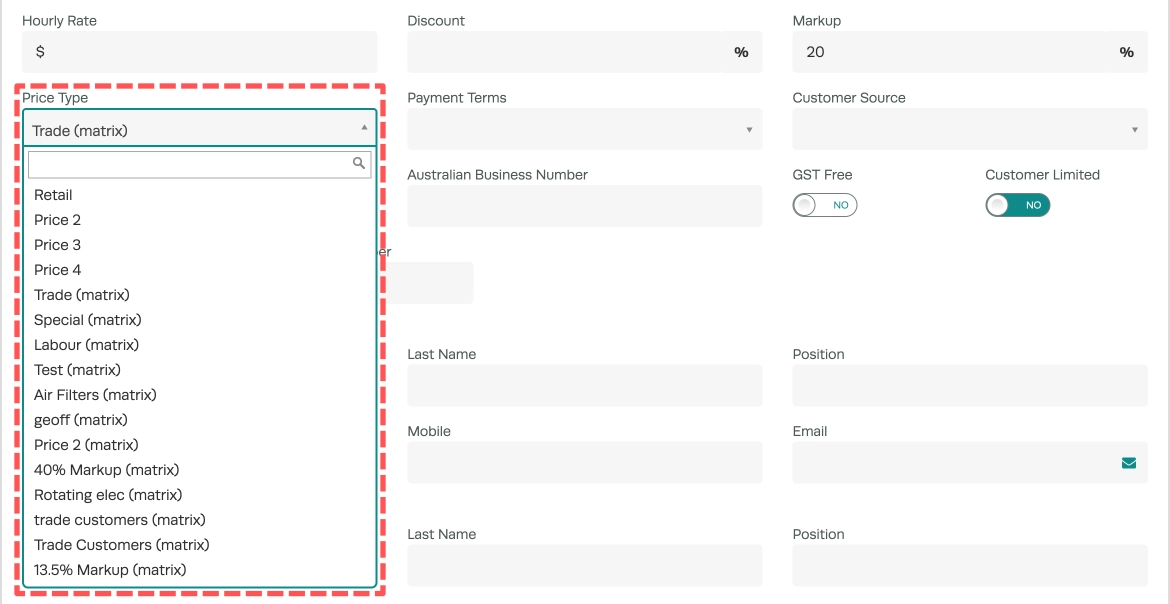
- Click Save before exiting the Customer.

This will apply the Matrix’s defined markups or discounts to the customer. When you create a new Invoice the prices will reflect the percentage adjustments specified in the matrix.
Please Note: The matrix percentage is applied to the Retail price, if a product does not have a Retail price entered, the markup or discount will not be applied.
Please refer to this video which will also go over the steps mentioned above.
