 Skip to content
 This article explains how to delete or void an Invoice and/or Payment in Workshop Software. This is commonly needed when an error has been made on a processed invoice.
Please note: If there is a Credit attached, you will need to detach the credit from the Invoice first. See How to detach and/or void a credit.
Workshop Software Invoices cannot be changed or added to once they have been processed. If an error has been made on an Invoice, the Invoice will need to be voided and re-created or you may copy the invoice to create a corrected version.
Step 1: Void Associated Payments
Before an invoice can be voided, any associated Payments must be voided first.
- Open payments made against the invoice.

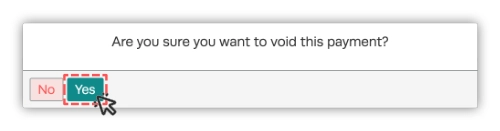
- Click the red Void button in the bottom left-hand corner of the Payment.

- Confirm you want to void the Payment by clicking the green Yes button.
Step 2: Void the Invoice
- Once any Payments are voided, open the Invoice you want to void.

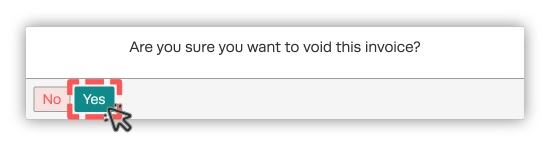
- Scroll to the bottom of the Invoice and click the red Void button.

- Confirm you want to void the Invoice by clicking the green Yes button.
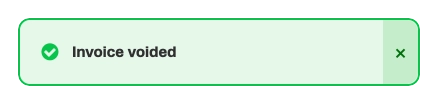
A green confirmation popup will appear in the bottom right of the screen confirming the Invoice has been voided.
Good to Know
- You must void all payments before you can void the invoice itself.
- If there is a credit attached, detach or void the credit before voiding the invoice.
- Voided invoices are no longer visible in the system but a void report may be accessed for record-keeping in Analytics>Business Reports>Log Reports. Run the Voided Invoice/Payment/Order Report report.
- If you need to correct an invoice, consider using the Copy Invoice feature to create a corrected version before voiding the original.
